

記事: How to Protect Camera Gear from Rain, Hiking and Travel
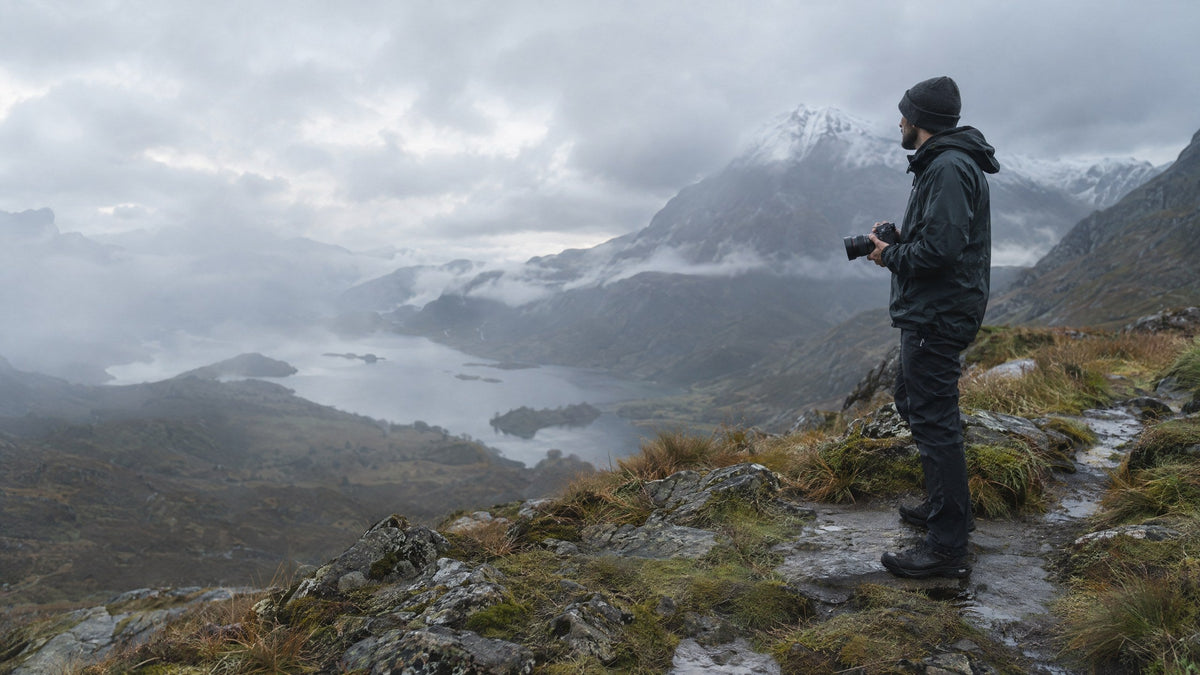
How to Protect Camera Gear from Rain, Hiking and Travel
A good outdoor camera setup has to do two things at once: keep equipment organised and protected when conditions change, while still letting you reach the camera before the moment disappears.
The answer is rarely one oversized bag. A more useful approach is to build a carry system around the gear you take, how quickly you need access and how exposed the day will be to rain, dust, rough ground or travel transfers.
This guide helps you plan that system. It does not replace the care guidance supplied with your camera, lenses or carry equipment.
1. Start with the day you are actually planning
Before choosing a carry setup, define the job. A short walk with one camera and one lens needs a different solution from a full day on a trail, a cycling trip or a journey with a laptop and travel documents.
Ask four questions before you pack:
- How much gear needs to travel? List the camera body, lenses, batteries, cards, charger, tripod accessories and personal essentials.
- How fast do you need access? A street or travel photographer may need the camera within seconds. A landscape shooter on a wet hike may prefer more protection while walking, then unpack deliberately at the location.
- What is the likely exposure? Think about rain, spray, mud, dusty trails and the time gear will spend on the ground or in transit.
- What else has to share the carry system? Water, layers, food, a laptop, documents and repair items all affect the capacity and organisation you need.
A clear answer prevents a common mistake: buying for the biggest possible day and carrying an oversized, poorly organised setup every other day.

2. Build a system, not a single compartment
For many photographers, three layers of organisation work better than one loose compartment.
Protect the camera and lenses inside the carry system
A dedicated organiser can separate camera gear from cables, layers and daily essentials. It makes packing repeatable: equipment has a fixed home, and you can quickly check that batteries, cards and lens caps are in place before leaving.
If you are considering the PROJECT C40 Camera Block, review the current product page for its confirmed dimensions, protection details and compatible carry setups before choosing a configuration.
Choose the outside carry format around access
A compact field bag can suit a light kit and quick access. A backpack becomes more useful when camera gear needs to share space with layers, food, a laptop or travel essentials.
- Light outing or city walk: prioritise access, a small camera setup and a carry format that does not get in the way while moving.
- Day hike or all-day event: prioritise load distribution, room for non-camera essentials and a repeatable packing order.
- Travel day: prioritise organisation and a setup you can carry through stations, airports and accommodation changes without repacking every item.
The right choice depends on your gear list, not just the weather forecast.
Keep the outside of the system simple
The exterior should carry only what you genuinely need to reach frequently. Overloading the outside creates snags, slows you down and makes it harder to see what is missing when you pack up after a shoot.
Use this pre-departure check:
- camera body and lens secured;
- batteries charged and separated from loose metal objects;
- clean memory cards packed;
- lens cloth and a simple cleaning tool accessible;
- a dry cloth and a plan for rain protection within reach;
- food, water and layers stored separately from sensitive gear where practical.
3. Plan for rain before it arrives
Rain protection is not one action. It is a sequence of choices made before, during and after the weather changes.
Before leaving
Check that closures are clean and working. Decide where the camera will go if rain starts, and pack a dry cloth where you can reach it without emptying the whole bag.
While shooting
Avoid leaving an open bag on wet ground. Open only the section you need, take out equipment deliberately and close the system again before moving on. This small routine helps prevent loose accessories from getting wet, lost or contaminated with dirt.
After the day
Let the carry system and gear dry according to the manufacturer’s care guidance before storage. Do not trap moisture in a closed compartment after a wet day. Before the next trip, check closures, straps and the bottom of the bag for dirt or wear.

4. Three practical carry approaches
A light camera walk
Carry one camera, a small lens selection, batteries and a cloth in an organised insert or compact carry solution. Keep only the equipment you expect to use. The goal is fast access and less bulk.
A trail day
Use a larger carry system when clothing, water and food matter as much as the camera. Separate the camera kit from items that may leak, crush or introduce dirt. Pack the heaviest items close to the body and keep the camera setup away from loose hard objects.
A travel-and-shoot day
Build around transitions: transport, walking, cafés, accommodation and the moment you start shooting. Keep documents, electronics and camera equipment organised enough that you can inspect one compartment without unpacking everything else.
Gear for this guide
Choose a setup around the type of day you are planning, then check current specifications before buying:
- PROJECT C40 Camera Block for organised camera carry;
- PROJECT M23 Waterproof Field Bag for a compact, adaptable carry option;
- PROJECT 8020 Waterproof Backpack when the day requires more capacity for outdoor or travel essentials.
Explore the complete Gear for Outdoor Photographers collection to compare the current range.
Final thought
The best outdoor camera setup is the one that makes your routine simpler: you know where the gear is, you can reach what you need and you can protect it without turning every weather change into a full repack.
Build the system for the way you shoot most often, then adjust it for exceptional days—not the other way around.


